 DSLR Assistant
All Help articles
Getting Started
Automated Shooting
Reviewing & Organizing
Troubleshooting
Purchases
Bracket exposures for HDR
Last updated: September 13, 2026
Exposure Bracketing takes a series of photos of the same scene, from darker to brighter, so you can merge them into one HDR image with detail in both the shadows and the highlights — an interior with bright windows, a landscape against the sun. It goes well beyond the camera's built-in bracketing: up to 19 shots, and you never touch the camera between them.
Shoot a bracketed series
- Put the camera on a tripod. The shots have to line up when you merge them.
- Turn the camera's mode dial to M (recommended), Av or Tv.
- Set a normal exposure for the scene — this becomes the middle shot of the series. Focus, then switch the lens to MF so focus doesn't change between shots.
- In the left panel, open Tasks, then Exposure.
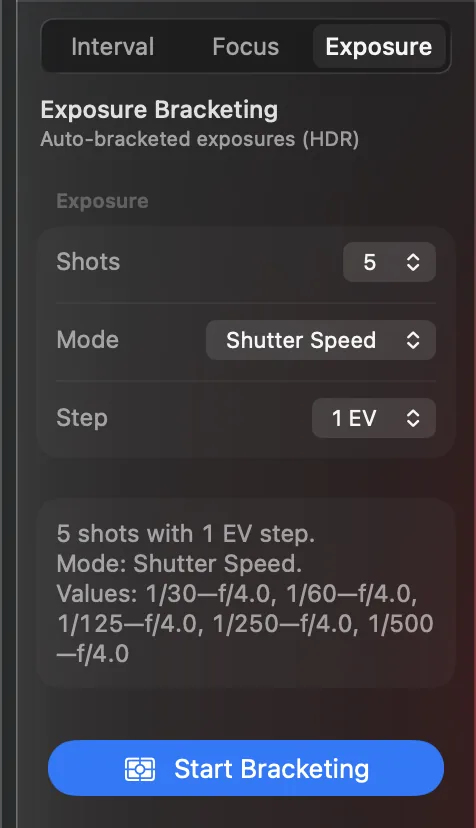
- In Shots, choose how many photos to take: 3, 5, 7 and so on, up to 19. For most scenes 5 is plenty; very high-contrast scenes may need 7 or 9.
- In M mode, choose what changes in Mode: Shutter Speed or Aperture. In Av and Tv the camera's mode decides this for you, and the card simply shows it.
- In Step, choose how far apart the shots are, in EV. 1 EV is a good default; use 2 EV to cover a very bright scene with fewer shots.
- Check the Values line in the summary — it lists the exact shutter speeds or apertures that will be used.
- Click Start Bracketing.
How the series is built
The series is centered on the exposure you set. With 5 shots and a 1 EV step you get −2, −1, 0, +1 and +2 EV: two darker shots, your original exposure, and two brighter ones. If the camera or lens runs out of shutter speeds or apertures at either end, the shots at that end use the camera's limit instead — the Values line shows this before you start.
The progress card counts the shots as they're taken. Stop Bracketing ends the series early; the photos already taken are kept.
Tips
- Vary shutter speed, not aperture. Changing the aperture changes depth of field too, so the shots won't blend cleanly. That's why M with Shutter Speed is the safest choice.
- Keep ISO fixed. Turn auto ISO off, or the camera may undo the exposure changes.
- Mind moving things. Clouds, water and people move between shots; fewer shots with a bigger step reduce ghosting.
- Merge later. DSLR Assistant takes the photos; combine them in your HDR software of choice.
Still stuck? Contact support →