 DSLR Assistant
All Help articles
Getting Started
Automated Shooting
Reviewing & Organizing
Troubleshooting
Purchases
Shoot a focus stack
Last updated: September 13, 2026
Up close, even at f/11 only a sliver of the subject is sharp. Focus Bracketing takes a series of photos, moving focus a little between each one, so you can merge them into a single image that's sharp from front to back — the standard technique for macro, product and food photography.
Before you start
- Use a sturdy tripod, and make sure the subject can't move.
- Set the switch on the lens to AF. DSLR Assistant moves focus through the lens's focusing motor, which the camera only allows in AF. You won't use autofocus itself — the app drives focus directly.
- Set exposure manually (M) so brightness doesn't change from shot to shot.
Shoot the stack
- In the left panel, open Tasks, then Focus.
- In the Live View card, click Start. Focus bracketing needs Live View: the focus buttons and the Start button stay greyed out until it's on.
- Use the arrow buttons under Live View active to put focus on the nearest part of the subject that should be sharp. Zoom Live View to 10× to judge it precisely (see Live View).
- In Focus step, choose a Further step so focus travels away from you, towards the back of the subject. Start with Small — Further for close-up subjects.
- In Shots, enter how many photos to take (see below for how to estimate it).
- Click Start Focus Bracketing.
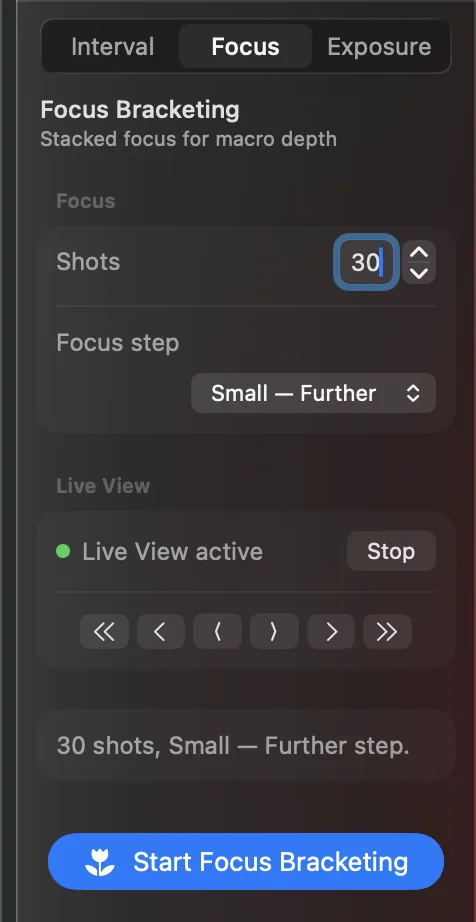
You can also work the other way around: focus on the farthest point and choose a Closer step. Either works — what matters is that the direction points from where focus is now towards the rest of the subject.
Choose the step and the number of shots
Each photo's zone of sharp focus should overlap the next one a little. Too big a step leaves soft bands in the merged image; too small a step only costs extra shots.
- Small — macro and close-ups, especially at wide apertures.
- Medium — small products and food shot from a short distance.
- Large — bigger subjects and scenes further away.
The simplest way to find the number of shots is a test run: start with a generous number, say 30, watch in the filmstrip where focus passes the back of the subject, and use that count next time. Extra shots past the back of the subject do no harm — you just leave them out when you merge.
Stop Bracketing ends the series at any time; the photos already taken are kept.
Merge the photos
DSLR Assistant takes the photos; combine them into one sharp image in your focus stacking software of choice. With a naming pattern that puts each session in its own folder, every stack is easy to find.
Still stuck? Contact support →