 DSLR Assistant
All Help articles
Getting Started
Automated Shooting
Reviewing & Organizing
Troubleshooting
Purchases
Shoot a time-lapse
Last updated: September 13, 2026
Interval Shooting takes a photo every few seconds, minutes or hours — for a time-lapse of a sunset, a building site or a plant opening. You set it up once on the Tasks tab, and the app does the rest while you're away from the camera.
Set up a time-lapse
- Put the camera on a tripod, frame the shot, and set exposure and focus the way you want every shot to look (see the tips below).
- In the left panel, open Tasks, then Interval.
- Choose when to begin in the Start menu, and when to finish in the End menu. Each option is explained below.
- In Interval, enter the time between shots in seconds — for example, 5 for a shot every five seconds, 300 for one every five minutes.
- Read the summary under the schedule. It spells out what's going to happen — when the first shot is taken, how many shots there will be and how long it all takes. If something doesn't add up, a warning appears here.
- Click Start Interval Shooting.
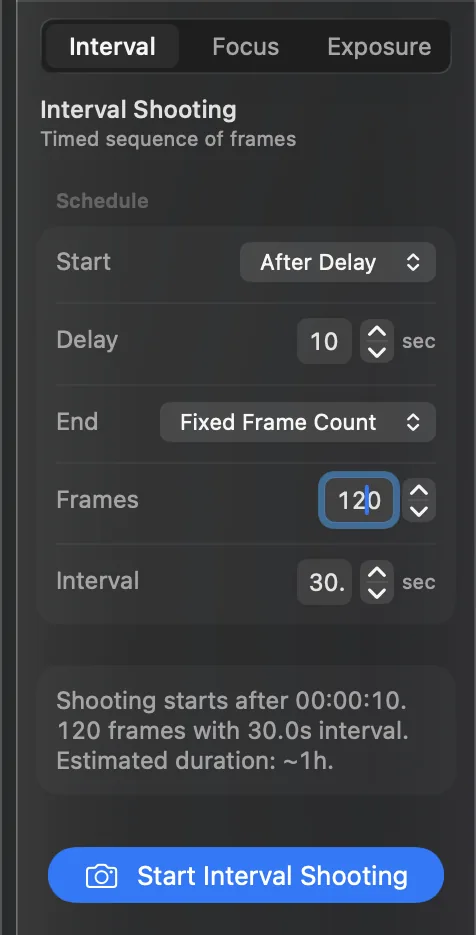
When to start
- Immediately — the first shot is taken as soon as you click Start.
- After Delay — enter a Delay in seconds. Use a few seconds so the tripod stops shaking after you touch the Mac, or longer to walk into the shot.
- At Specific Time — pick a date and time in Start at, for example tomorrow at 5:30 before sunrise. Leave the camera connected and the app running; the Mac stays awake while it waits.
- Certain Weekdays — click the days you want in Days and set the Start time. Monday to Friday are selected to begin with. On every selected day DSLR Assistant shoots a session at that time, week after week, until you click Stop Shooting — handy for following a construction site or a garden through a whole season.
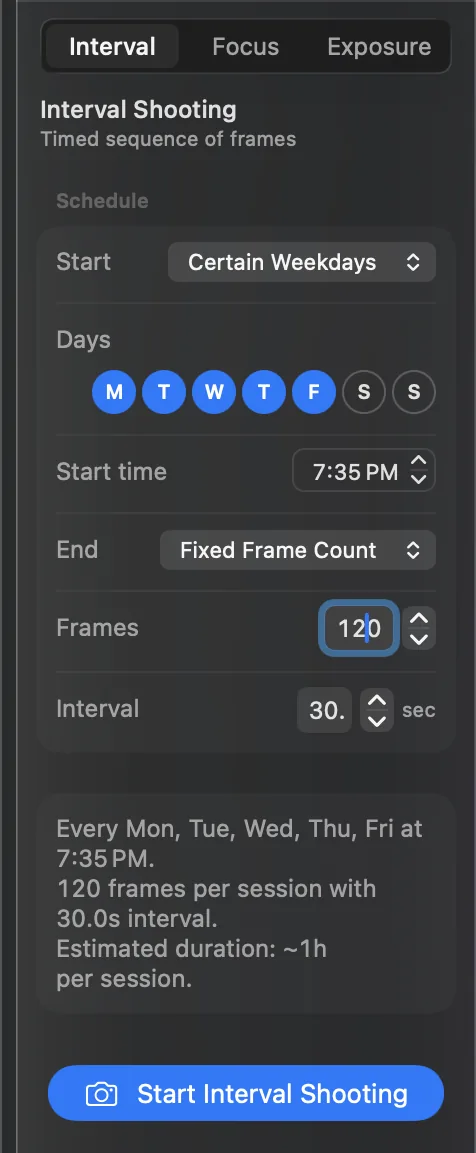
When to stop
- Fixed Frame Count — enter the number of shots in Frames. The summary shows how long that takes at your interval: 120 shots every 30 seconds is about an hour.
- At Specific Time — pick when to stop in End at, and the app works out how many shots fit. With Certain Weekdays, you set an End time for the session instead.
You can stop early at any time with Stop Shooting. Photos already taken stay in your library.
While it's running
The progress card shows how many shots have been taken out of the total, and a countdown to the next one. With Certain Weekdays there's no total — the card counts shots taken so far, and when the next session is more than a day away it shows its date and time. A dot on the Tasks tab reminds you a sequence is running while you look at other tabs. Every shot is copied to your library as usual, so you can watch the sequence build up in the filmstrip.
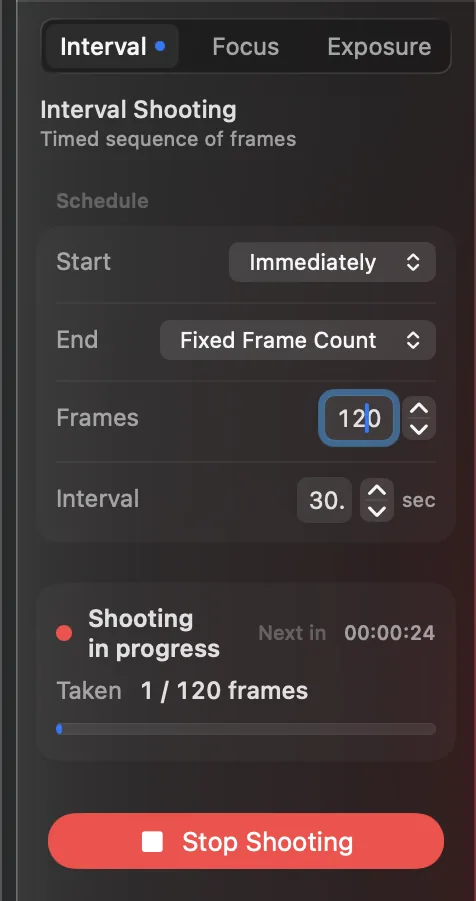
Other automated tasks can't start until this one finishes, because the camera can only run one sequence at a time.
Long exposures on a timer
For star trails or night time-lapses with exposures longer than 30 seconds, put the camera in Bulb mode and set Exposure Time on the Camera tab (see Take a Bulb exposure). Every shot in the sequence then uses that exposure time.
Tips for a smooth time-lapse
- Use manual exposure (M) and a fixed ISO. In automatic modes the camera re-meters every shot, and small jumps in brightness show up as flicker in the finished video.
- Focus once, then switch the lens to MF. Otherwise the camera may refocus on something that moves through the scene.
- Allow time to save. If the interval is shorter than the exposure plus the time to write a RAW file, the camera can't keep up. The app warns you when the interval is shorter than the shutter speed.
- Plan the power. A few hundred shots can drain a battery; use the camera's AC adapter for long sessions.
Still stuck? Contact support →